This
was really scheduled to go out on Friday but I was just given a major-major
project with strict deadlines and huge penalties on our side for any delay so I
had to put in the extra hours and effort to get it moving. I hope I haven’t
ruined your weekend by giving you nothing to read on your Sunday coffee or
whenever it is that you catch up with the past week news, blogs, forums and CAD
news altogether. Helps to start work with a bit of laugh and irony.
Part two on
publishing dumb parts is all about authoring empty parts. A lot of the times
you don’t have the final model because it’s a complicated part to model, you
don’t have enough time or information, you are waiting for a different department
to model and certify the part. So meanwhile you do as best you can to overcome
this, constraining and moving components around to account for the missing elements.
 |
| Empty on all sides |
You
might take it a step forward and create a similar shape body or surface outline
to guide you as of what the occupied volume is so you can avoid any clashes and
interferences when the final model will come in place. This applies to everything
from valves to skids and other equipment like heat exchangers for which a model
doesn’t exist and it’s in the process of being finalized.
When I am
dealing with this type of situations I usually create an empty part, author it
as Tube and Pipe to serve me in my routing and drop the final model when ready
over it with place fitting command.
TIP: The he assembly replace command will not work and
you need to use place fitting instead. With the place fitting command you can
drop any T&P authored part on top of a different one to create a replace.
In
my last post here,
I’ve shown you how to better/faster create work features and if you haven’t
seen it go check it out and then quickly come back because we are going to use
that same techniques here.
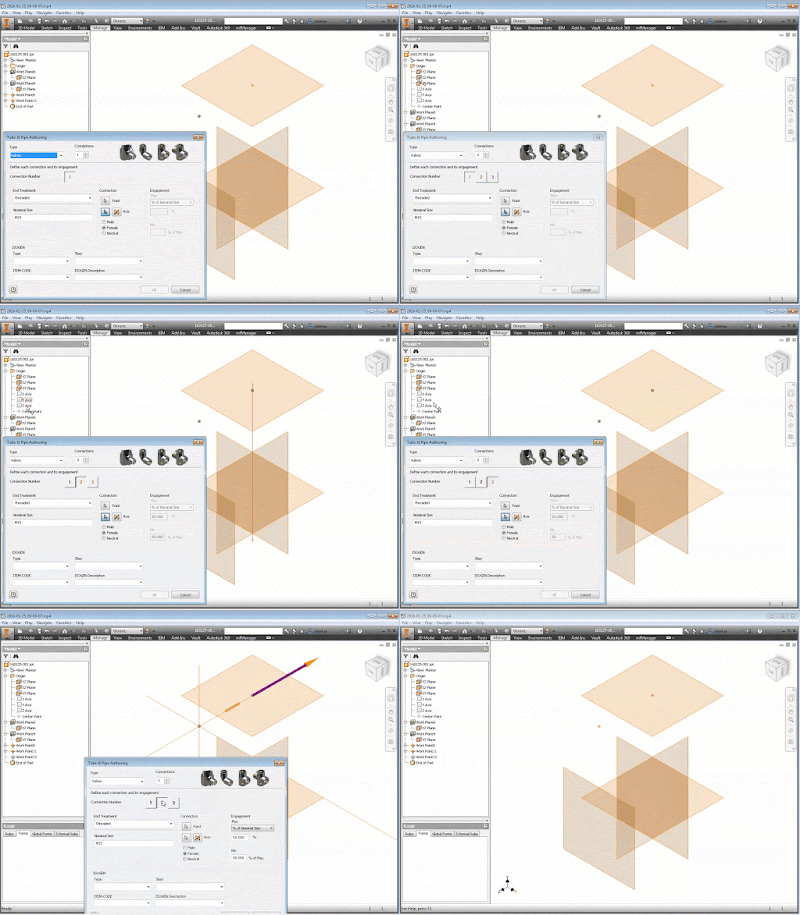
In
order to author a T&P fitting you need a work point for the connection and
an axis for the direction of the engagement. You might need another plane to
setup the engagement distance but that depends on the type of connection.
You
probably did these points instinctually when authoring T&P fittings although
you don’t need to. On an empty part you can’t do without work features but on a
model with circular edges you don’t need any work features at all; will have
to detail this at a different time.
If
you can’t use the origin planes and axes then you need to create your custom
work features and I recommend that you rename then work features in the browser
to help you find them on later edits.
TIP: If the directional axis matches one of the origin
axis then you don’t need to create them AT ALL. The directional axis doesn’t
need to be in line (coincident) with the work point and here’s to prove that:
 |
| Add caption |
I know there’s nothing fancy here but a lot of people are unaware that
you can author empty parts and it’s really the foundation for authoring dumb
parts as we will discuss next time.
Later,
ADS
No comments:
Post a Comment