I have a lovely little trick this
week on using tees more dynamically inside Tube and Pipe module of Inventor.
Analyzing
the way I do my routes I noticed that most the fittings I place split into tees
or other fittings(like valves, clips,
reducers, etc.). I almost never use a connector, a union, or coupling. We use
unions and not couplings because they can be disconnected and they are not a
permanent connection so we have unions in the Coupling section of our T&P
style.

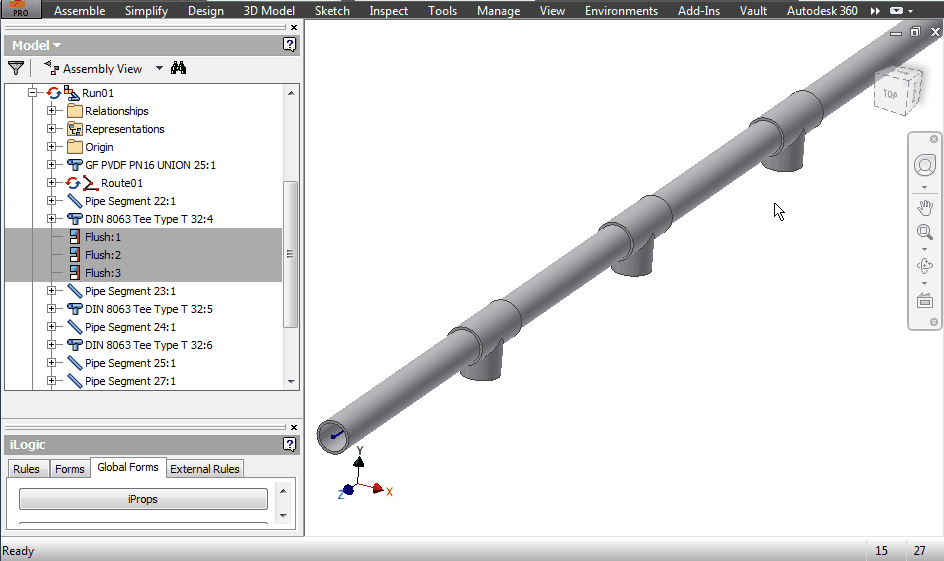
I decided
to change the union for a tee in the style dialog so each node will have a
tee by default and I can drop a different fitting on it if needed (valve, clip.
etc). We use tees for sample valves, pressure gauges, branching, or any other instrumentation
like transducers, switches, quality indicator and transmitters.
This
will have one main advantage instead of placing tees manually and that is the automatic update and change of size for the tee. If
you place it manually and you change size of the route the tee doesn’t change
size.
The main
disadvantage is that there is no edit fitting orientation for parts specified
in the Tube and Pipe Styles window and for a tee that’s unheard of. So the
tees will have locked orientation ... or NOT because as always I have a way
around it.
Change
the Tube and Pipe Style and in the Coupling section browse for you fitting. Elbow
or else it’s all working as long as two of the connections have 180 deg between them.
As soon as you populate or update the route you will have tees in all the nodes
and if you right click them you will notice that there is no Edit Fitting
Orientation.

Select the tee and then use Place Fitting and
drop it on to the one you need to change orientation. You will have a rotation
and position dialog just like regular place fitting so enter your angle and finish the
rotation command.
If you change size of the route now you will see
that the tee has been change do custom and it will not update in size so there’s
an extra step you need to do in order to maintain size associativity. After you
rotated the tee right click on it and choose Restore Fitting. This will tell
Inventor to change your fitting (tee) with the one specified in the style
dialog (same tee) but the orientation will be preserved and the size will
change with the style.
I have added the request to have
Edit Fitting Orientation on the T&P Overhaul post in the idea station so
here’s another reason to vote for it.
And this
is it, nice and easy with a short video as well.
Later,
ADS
ADS
No comments:
Post a Comment